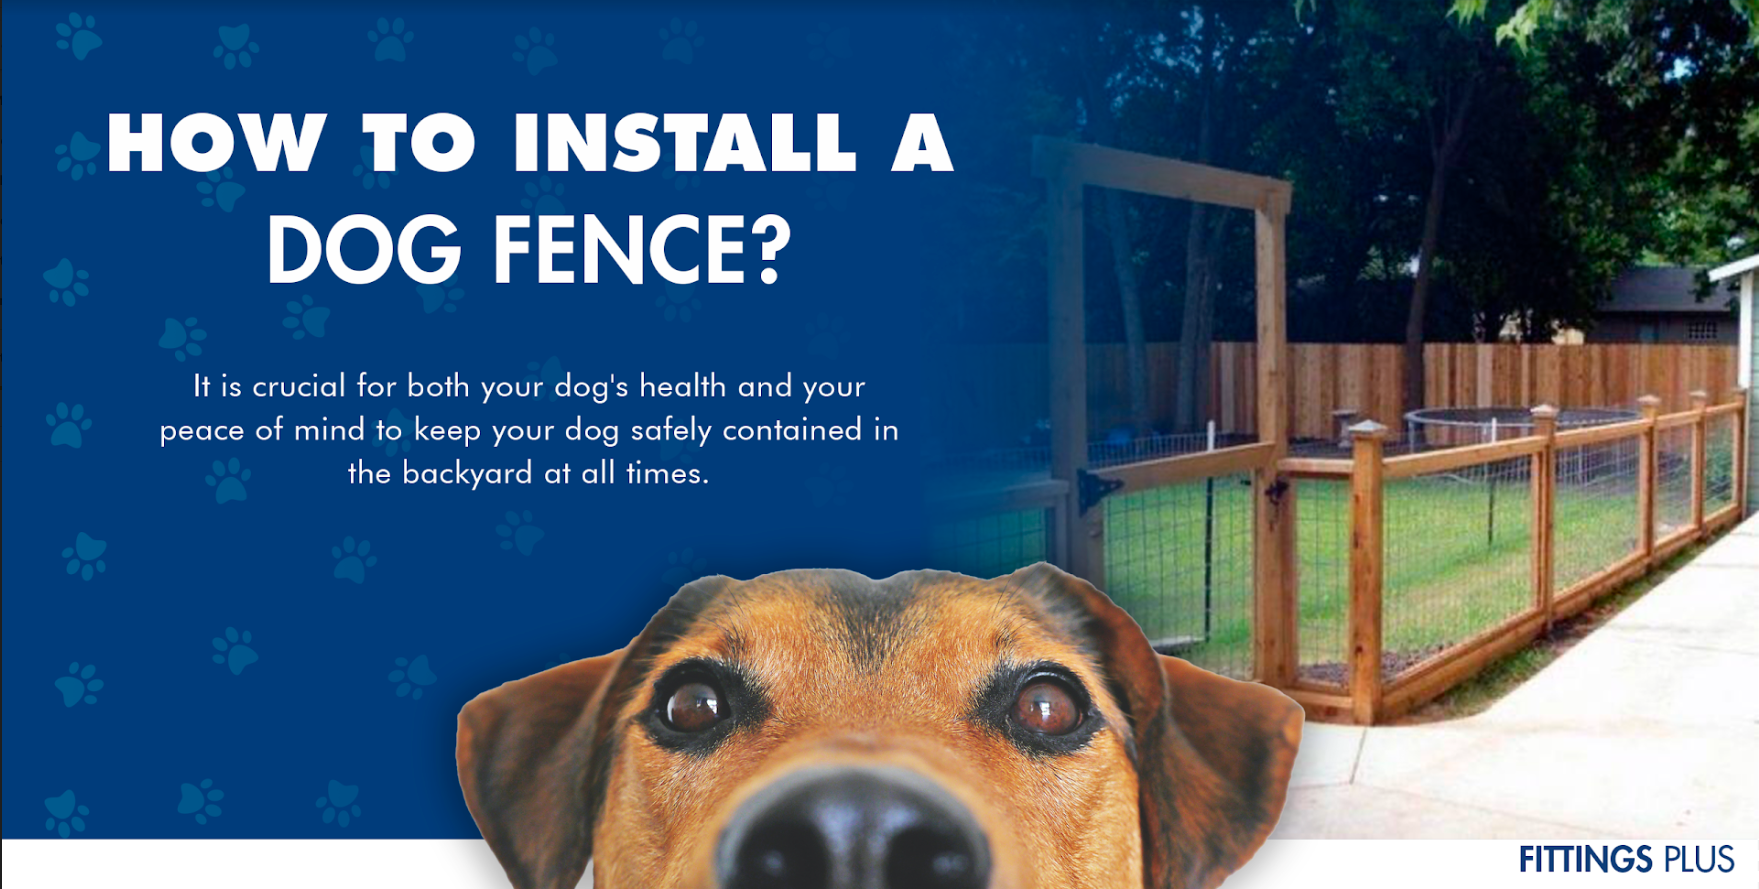
It is crucial for both your dog's health and your peace of mind to keep your dog safely contained in the backyard at all times. Putting up a fence for your dog might be a challenging project, but if you have the appropriate tools and the correct knowledge, you can build a fence for your dog that is both secure and strong. Your dog will be able to run and play freely in a secure area if you take the time to learn how to correctly erect the fence around your yard.
Take time to think about the type of fence you want
People often use one of two distinct kinds of fences in order to contain their dogs. Both will prevent dogs from entering your yard, but their durability and cost are different from one another.
You may be interested: Add Charm to Your Fence with Plant & Animal Inspired Accessories

Fence with chain link
Although they are often more costly than other types of wire fences, they are known for their strength and longevity. They are designed to withstand the test of time and adhere to the standards set out by a variety of housing organizations. However, because of the wide holes in the chain link, it may be simple for outsiders to poke their hands or other items through it in order to tease your dog.

Farm fence
Wire mesh is stretched out over fence posts and then used to construct these inexpensive fences. They will not block any of the views in your yard, but they are susceptible to corrosion and may need regular repair.

Create holes in the ground for your corner posts
If you want to create a wire fence for your dog, the first thing you need to do is drill holes in the ground for the corner posts of your fence if you're going to use wooden posts. Because corner posts are subject to a greater amount of strain than line posts (the posts that are located in between your corner posts), the holes that are excavated for them need to be much more extensive. It is recommended that you dig holes around 2 1/2 to 3 feet (0.76 to 0.91 meters) deep for your corner posts.
- For most projects, you can get away with using a hand-held clamshell post digger. On the other hand, if you have a lot of posts or the terrain is rough and difficult to dig in, an auger, which is a tool similar to a drill, might be beneficial.
- Because of the presence of clay or moisture in the ground at the location where you will be setting your posts, you will need to dig deeper holes for them.

Put the corner posts in their respective holes
The corner posts of your fence need to be sturdy than the line posts. In general, the diameter of your corner posts needs to be somewhere in the range of 6 to 8 inches (15 to 20 centimeters), and their length ought to be somewhere in the range of 7 to 8 feet (2.5 to 2.5 meters). Put these posts in the holes you dug for the corners, and then fill the holes with just enough dirt to prevent them from shifting about.
- If you want to be sure that the post is straight, you should hold a level perpendicularly to the side of it.

Dig holes for the brace posts
It is recommended that you set up a brace post at the end of each fence line that leads to your corner post. The corner post is prevented from toppling over or becoming loose as a result of the brace post, which helps relieve some of the stress that is being placed on it. The holes for these posts should be dug to a depth of between two and a half and three feet (.76 and.91 meters), much as you did for the corner posts. Along the fence line, the corner post and the brace post have to be spaced around 8 feet apart from one another.

Place the brace posts in the holes
In the same manner that you did with the corner posts, position the brace posts in the holes that you excavated and then backfill some of the dirt around them to secure them. Before you start filling in the hole, check sure the post is straight by holding a level vertically down the side of it.
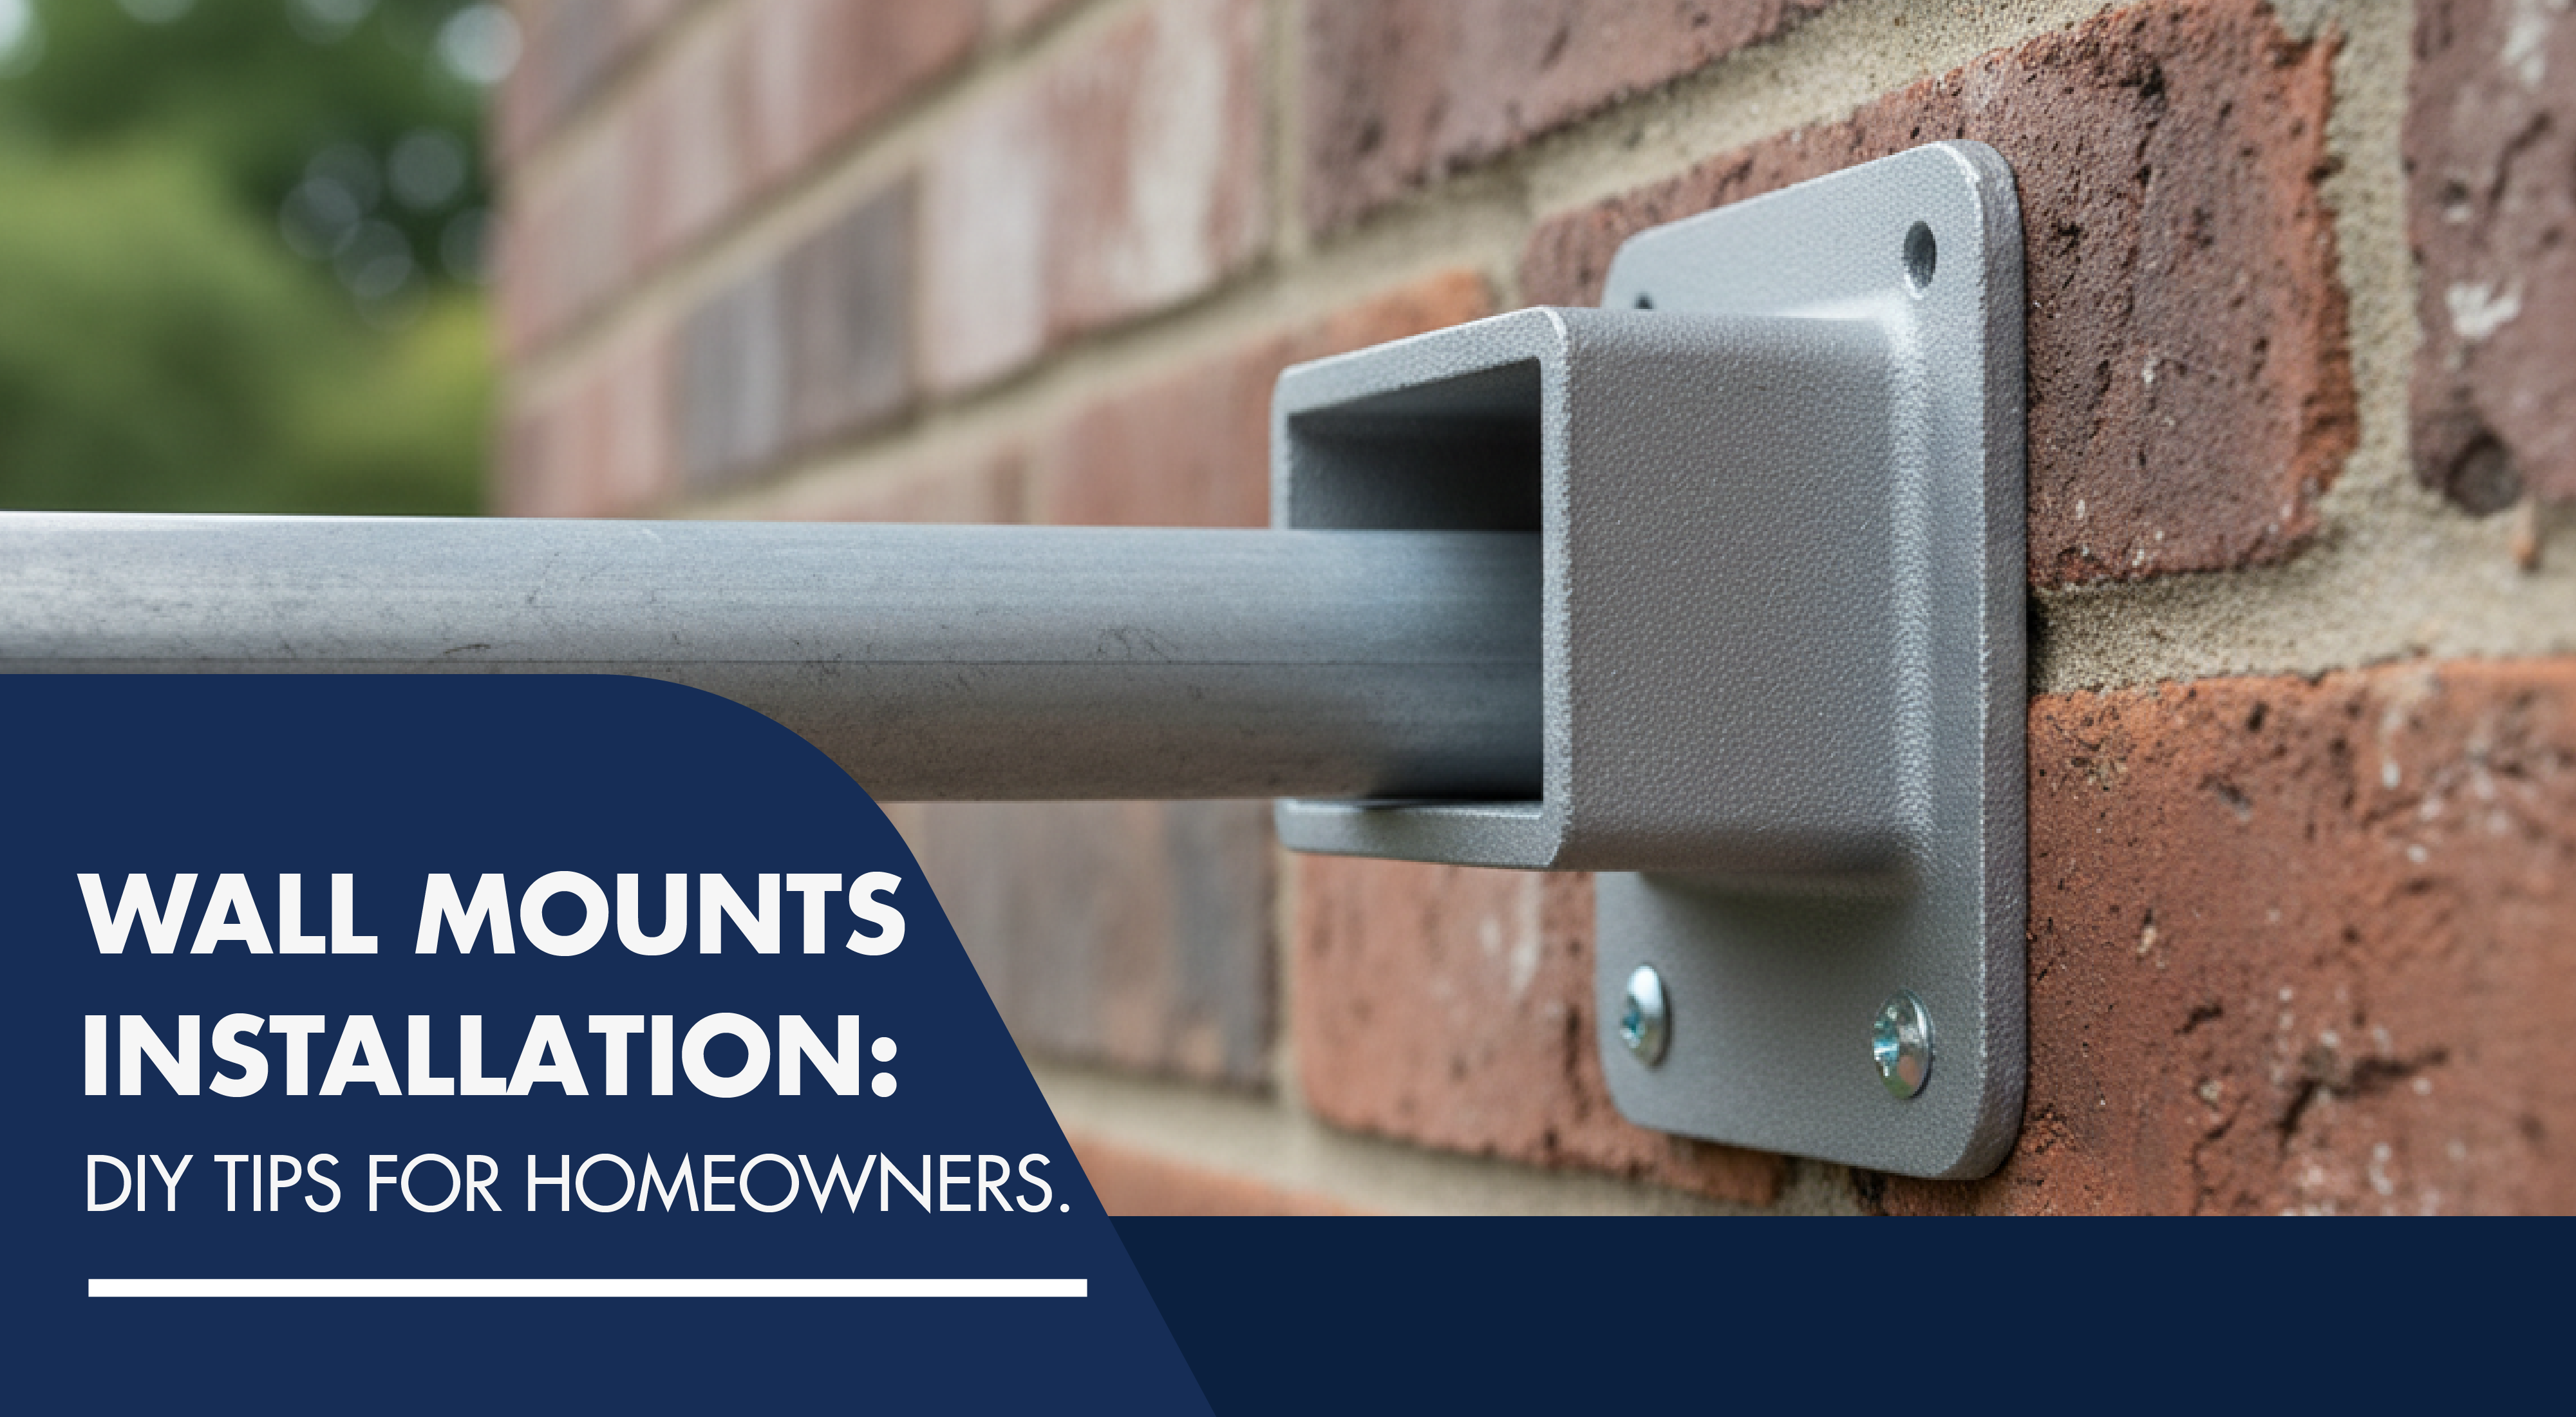
Maybe you needs: Durable and Reliable Fence Wall Mounts for Every Need
Fill the corners and brace post holes
After you have ensured that your corner and brace posts are levels, you may next fill up the holes with earth, clay, or sand to secure the posts in their new positions. In order to guarantee that the post will be stable, the loose soil, clay, or sand must be compacted as you work. Add a little amount of soil at a time, being careful to thoroughly compact it after each new addition and throughout the process.
- When packing down the soil, you may use a longboard, a hoe, a pipe with a curved end, or other things of a similar kind. This will make it easier for you to pack the soil securely, and it will prevent your knuckles from being scraped on the wooden posts while you are working.
- Pouring concrete into the post hole and securing it to the ground in this manner is a technique that may be used for fences that are required to have an increased level of protection.

Install a brace wire
After you have ensured that the corner and brace posts are firmly planted in the ground, the posts may be stabilized by installing a brace wire in the space between them. This brace wire will be positioned such that it runs in a diagonal direction from the base of your corner post to the top of your brace post. In order to make the wire more secure, start a fence staple at the top of your brace post as well as the bottom of your corner post. Beginning at your corner post, thread the wire through the staple, then run it up through the staple at the top of your brace post, around the top of the brace post, then back down and around your corner post. After you have successfully positioned the wire, firmly push the staples into the wood. In addition, any slack wire should be stapled to the post.
- Brace wire may be purchased at the majority of supply shops. Typically, it has a flexible 9-gague structure. It is not the same thing as the wire used for fencing.

Insert a crosspiece between the corner post and the brace post
After you have secured your brace wire, insert a wooden crosspiece in the space between the top of your corner post and the top of your brace post. The crosspiece needs to be of a length that allows it to slide in easily between the two posts (about 8 feet or 2.5 meters long). Create a notch on the inside of each post where the crosspiece may be inserted, and then use nails to keep it in place after the notch is complete.
- As an alternate option for the crosspiece, you might use pipe, rusty steel fence posts, or even bed rails.
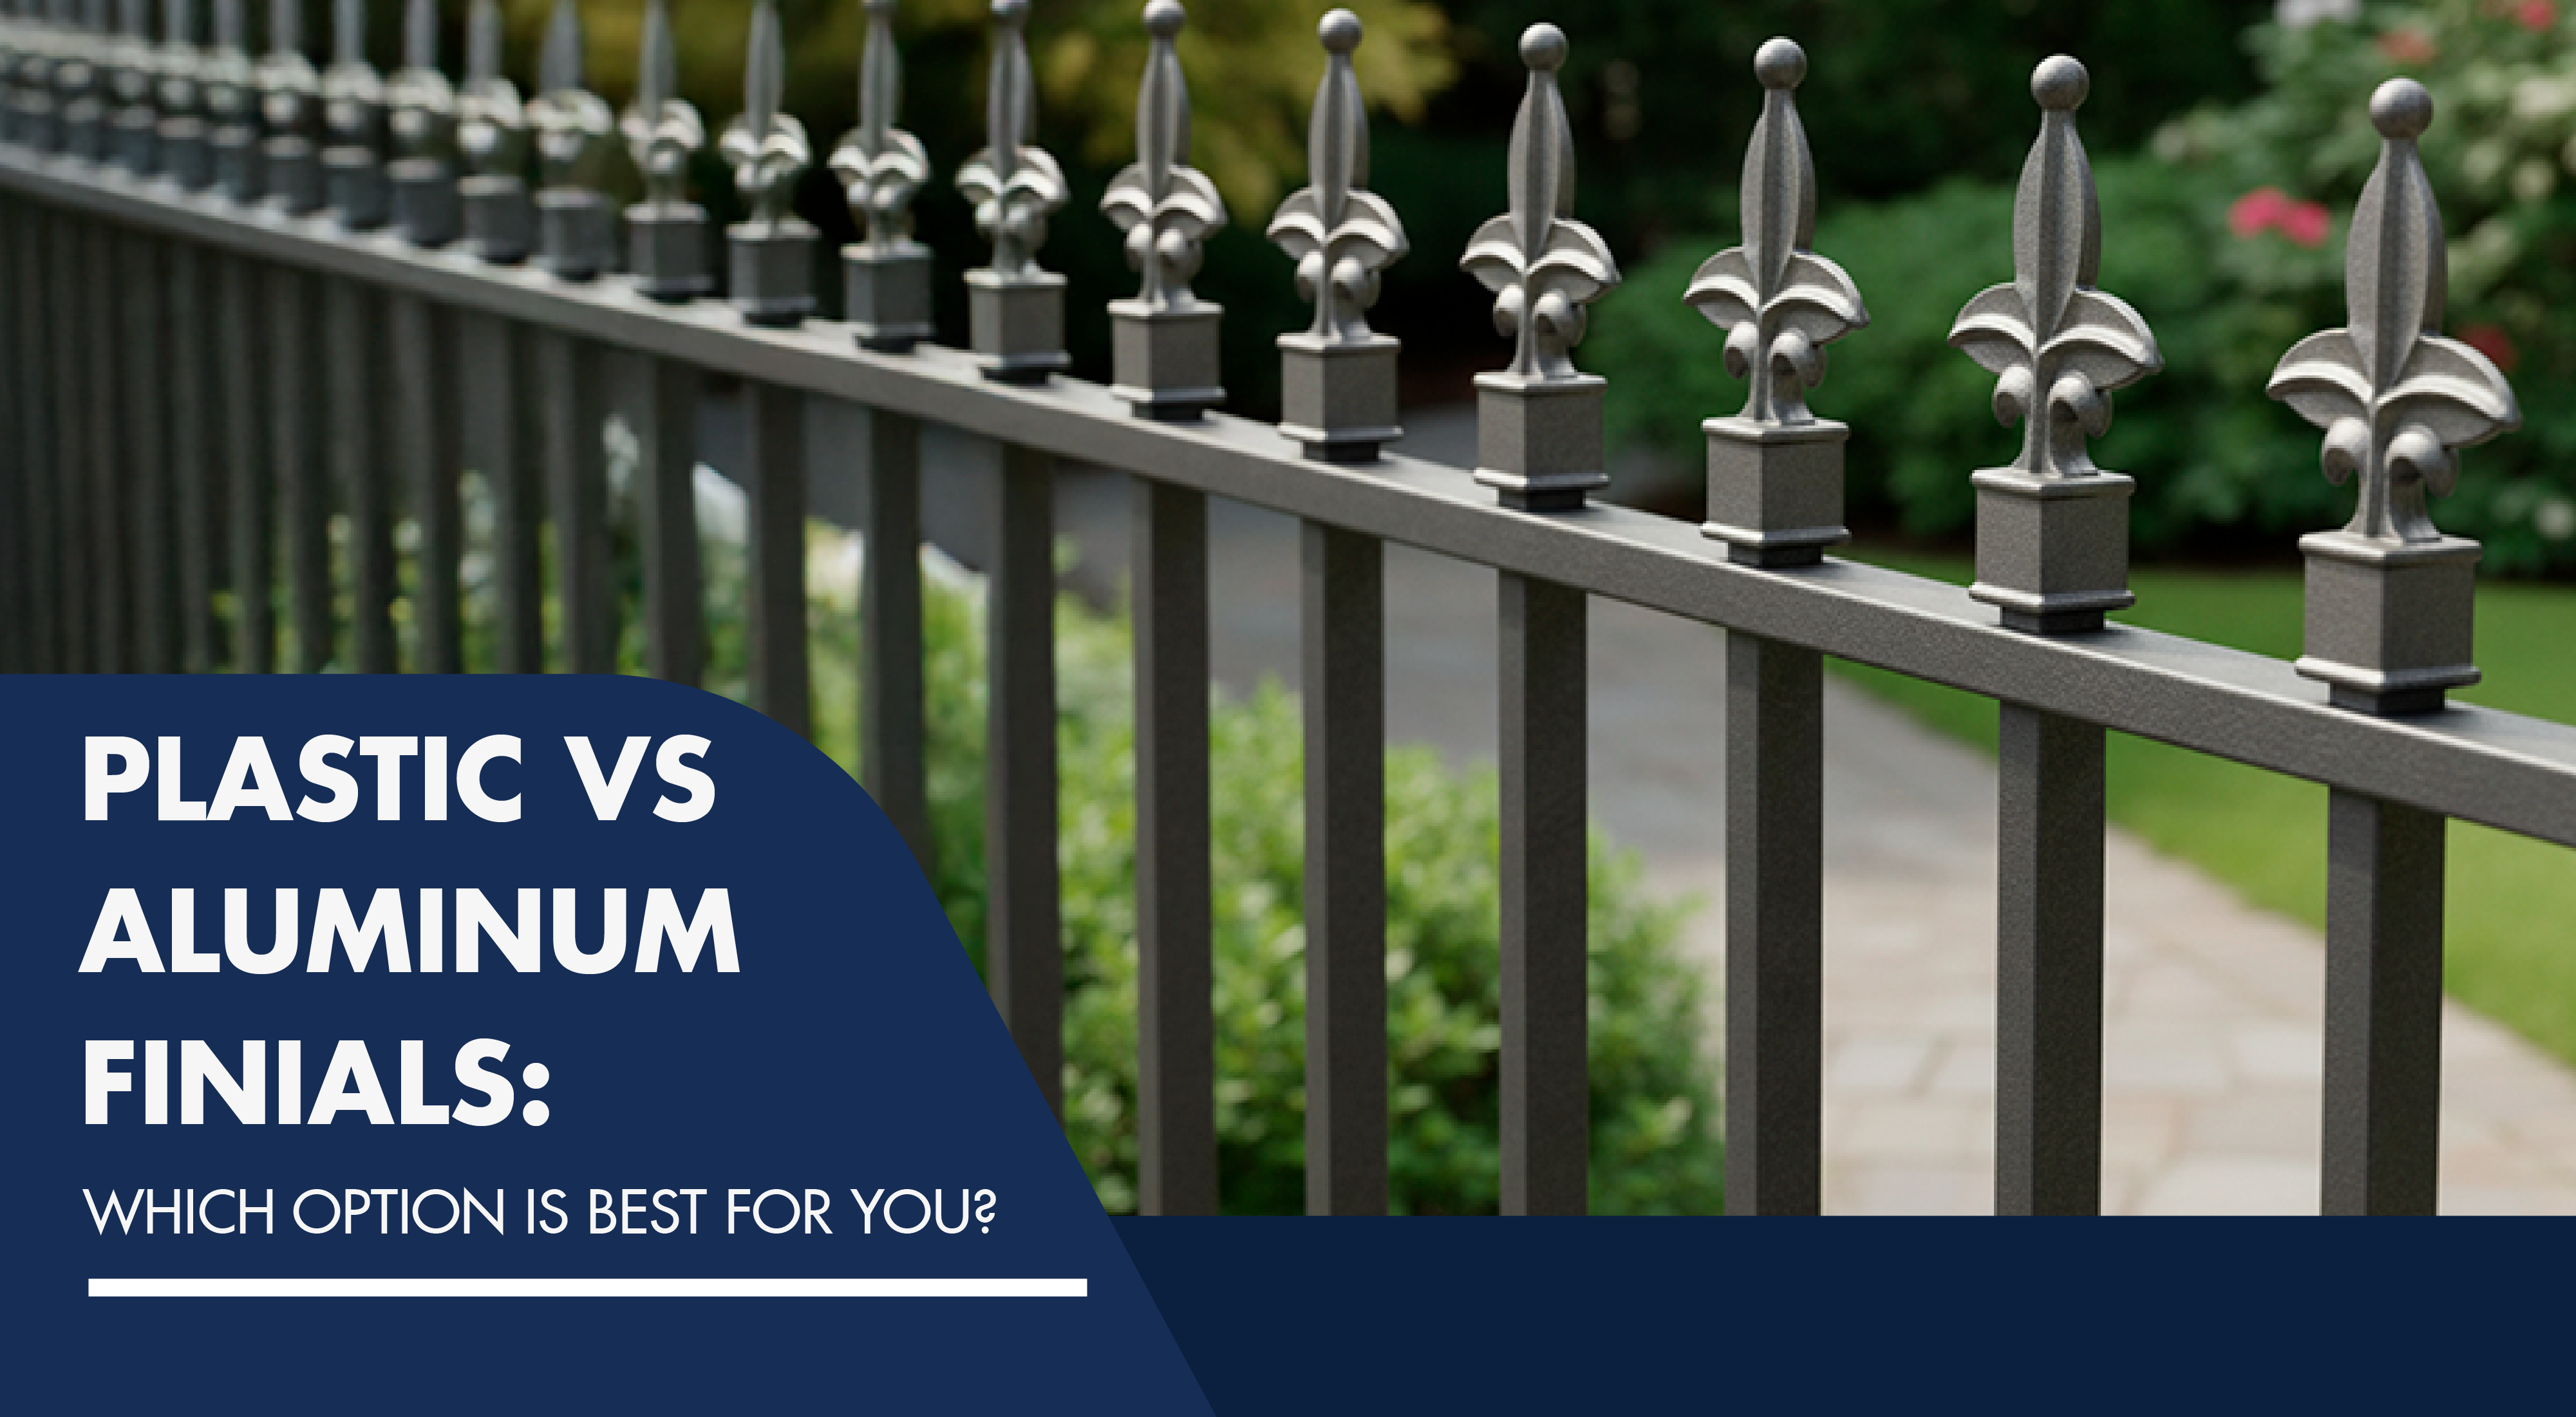
Also get: Fence Finials

Create a brace lever
In order to further enhance the stability of your corner and brace posts, you will need to add tension to the brace wire. To do this, first cut a piece of wood, pipe, rod, or any material of a similar robust nature to a length of around 16 inches (41 cm). Put one end of this lever in the space between the two brace wires that you just fastened at the upper corner of the post that supports your brace. Turn the lever until the wires are pulled together as tightly as they can be. When you have them pulled to the desired tension, place the end of the lever opposite the crosspiece. As long as there is sufficient strain, it will remain in this position on its own.

Create holes in the ground for the line posts
To identify the location of your line posts, you need first to stretch a wire or cable between your corner assembly and your brace assembly. The distance between line posts needs to be somewhere in the range of 15 to 20 feet (4.5 to 6 meters). You may designate the locations of where to dig the holes for these posts by using spray paint. Dig holes to a depth of two to two and a half feet using either the clamshell post digger or the auger (.61 to .76 meters).
Install your line posts
After the holes for your line posts have been excavated, you should insert your wooden posts into the holes and then fill up the holes by adding a little amount of earth, clay, or sand at a time and pushing it down as firmly as possible.