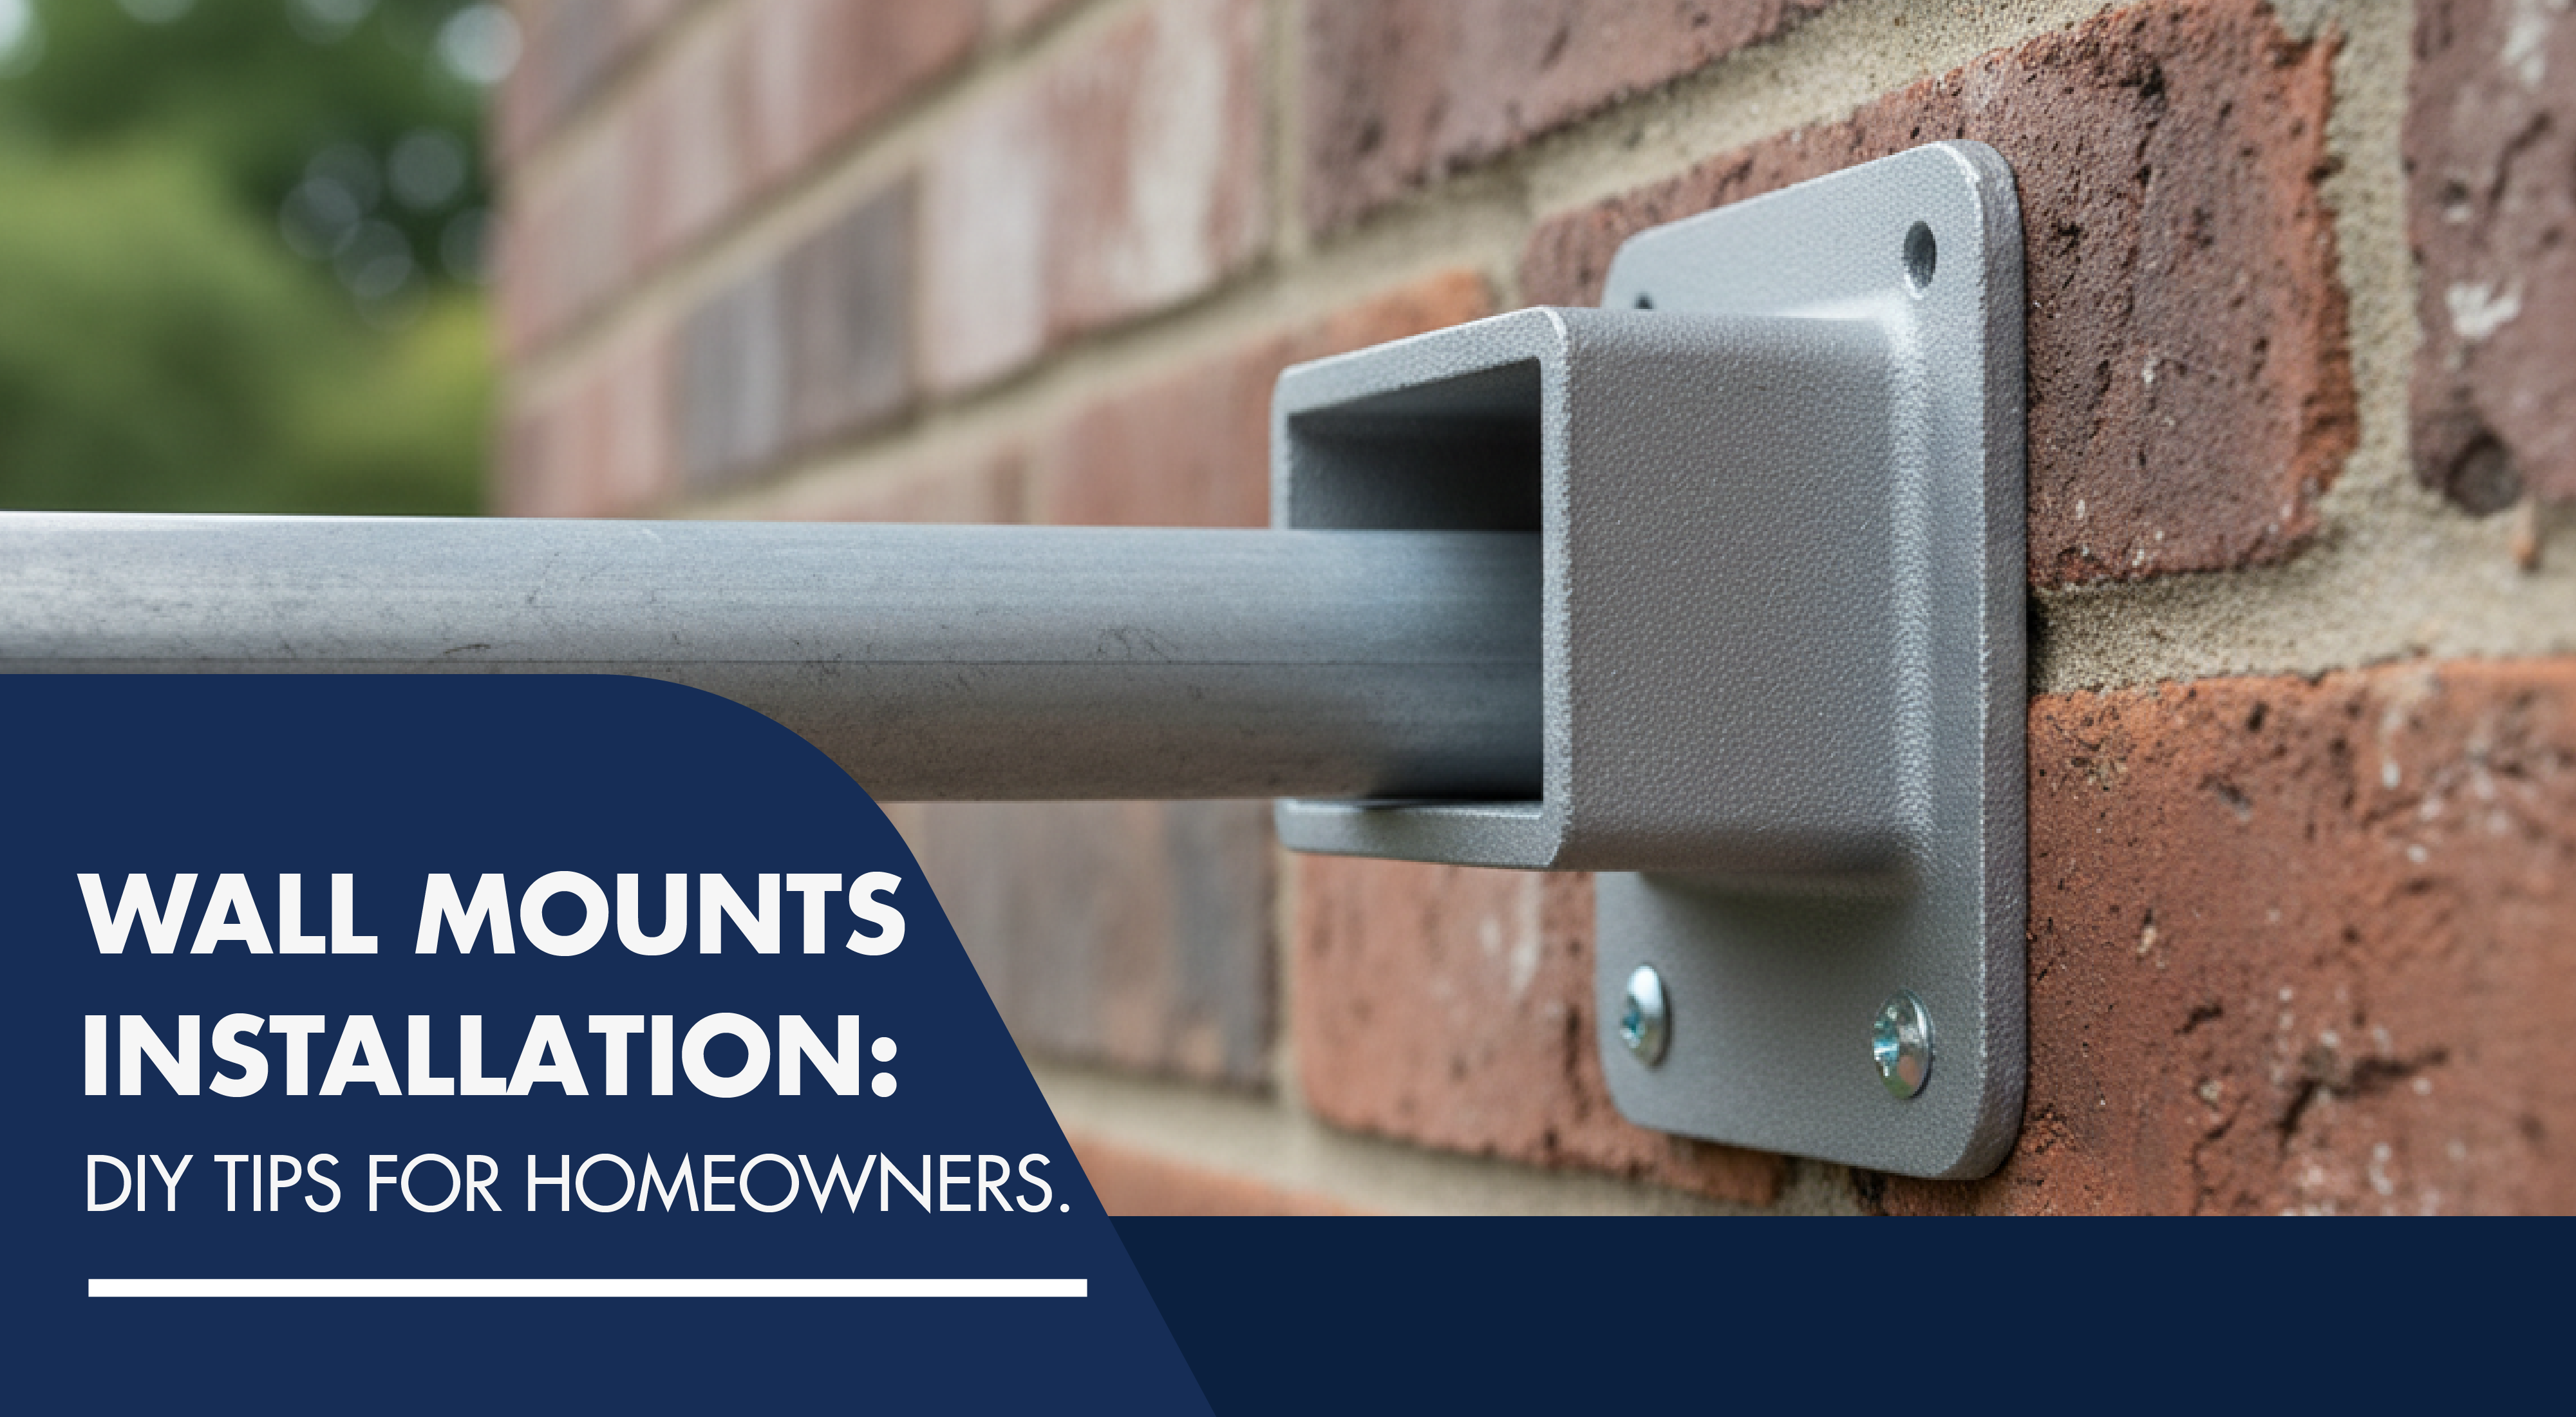
When it comes to home improvement projects, wall mounts installation often feels more intimidating than it really is. Whether you’re hanging a flat-screen TV, shelving, or even Fence Wall Mounts for your outdoor fencing project, the process boils down to preparation, the right tools, and understanding how different walls react to mounting hardware. The good news? With the right approach, you don’t have to call a contractor for every small job. You can handle it yourself and get professional results.
Most homeowners want the freedom to hang or mount items securely without worrying about sagging, shifting, or damage down the line. The problem arises when you underestimate the weight of what you’re mounting, or worse, when you pick the wrong anchors for your wall type. That’s where this guide steps in — to help you avoid common mistakes, learn the best practices, and master wall mounts installation with confidence.

Preparing for a Successful Wall Mounts Installation
Every DIY project starts with preparation. Rushing straight into drilling can easily lead to crooked mounts or even damaged drywall. Here’s what you need to line up before you begin:
-
Tools you’ll need: Drill, level, measuring tape, stud finder, screwdriver set.
-
Anchors and fasteners: Choose based on wall type — drywall, brick, or concrete.
-
Mount type: Light-duty for small shelves and frames, heavy-duty for TVs and cabinets.
Pro tip: Measure twice, drill once. A misaligned hole can compromise the entire setup.
You may also like: How to Install an Aluminum Fence
Wall Mounts for Different Surfaces
Not all walls are created equal, and that’s why wall mounts installation requires a slightly different approach depending on the surface you’re working with. Each material — whether drywall, brick, or concrete — has its own strengths and challenges. If you don’t adapt your method, even the best hardware won’t hold properly. Understanding these differences is half the battle and will save you from costly mistakes down the line.
Drywall Wall Mounts Installation
Drywall is by far the most common wall surface in modern homes, but it’s also the most vulnerable when it comes to mounting. If you screw directly into drywall, the mount won’t support much weight — picture frames or small décor might stay up, but shelving units or TVs will eventually pull free. That’s why anchors are non-negotiable.
-
For light to medium loads, toggle bolts and plastic anchors are your go-to.
-
For heavy-duty installations, always locate a stud using a stud finder and anchor into it for maximum strength.
-
Avoid over-tightening screws, as drywall can crumble around the anchor.
Think of drywall as a surface that needs reinforcement. Once you learn to work with studs and anchors, it becomes a reliable option for almost any indoor mounting project.
Brick and Masonry Wall Mounts
Mounting into brick or masonry adds another layer of complexity. These surfaces are dense and durable, but drilling into them requires the right equipment. A hammer drill with a masonry bit is essential, otherwise you’ll waste time and damage your tools.
-
Expansion anchors are the most reliable choice, gripping tightly as the screw is driven in.
-
When mounting outdoors, always use galvanized or stainless steel hardware to resist rust.
-
For aesthetic reasons, try to drill into the mortar joint rather than the face of the brick — it’s easier to patch later if needed.
This type of wall is perfect for heavier installations like shelving units, hose reels, or even Fence Wall Mounts that need to withstand the elements.
Concrete Wall Mounts Installation
Concrete is the heavyweight champion of wall surfaces. It’s strong, durable, and excellent for securing mounts, but precision is key. Without the right anchors, even concrete won’t hold effectively.
-
Use heavy-duty concrete anchors or sleeve anchors designed to expand inside the drilled hole.
-
Match your drill bit exactly to the anchor size to avoid loose fits.
-
Always clean out the hole with compressed air or a brush before inserting the anchor — dust reduces holding strength.
-
For outdoor concrete, select anchors with weather-resistant coatings to prevent corrosion.
Concrete is the surface you can trust for high-load applications. Whether it’s a large flat-screen TV inside or Aluminum Fence Wall Mounts outside, once installed properly, mounts in concrete will last for decades without shifting.

Step-by-Step Guide for First-Time Installers
Here’s a straightforward process for beginners:
-
Mark the placement – Use a pencil and level for precision.
-
Locate studs or select anchors – Based on wall type.
-
Drill pilot holes – Prevents cracks and makes screwing easier.
-
Insert anchors or mount brackets – Secure them tightly.
-
Attach your item – Whether it’s shelving, a TV bracket, or Fence Wall Mounts.
-
Test stability – Apply pressure before loading full weight.
Common Mistakes to Avoid in Wall Mounts Installation
Even with the right tools, many DIY projects fail because of simple oversights:
-
Skipping the stud finder: Leads to weak mounts that eventually fall.
-
Overtightening screws: This strips anchors or damages the wall.
-
Ignoring weight limits: Every wall mount comes with a load rating. Stick to it.
-
Poor measurements: Uneven spacing can ruin both function and aesthetics.
Avoiding these pitfalls ensures your installation lasts for years without hassle.
Why Wall Mounts Add Value to Your Home
It’s easy to underestimate the impact of small details like wall mounts. Yet, they:
-
Maximize space by lifting items off the floor.
-
Improve safety by securing heavy items properly.
-
Enhance aesthetics by providing a cleaner, more organized look.
-
Boost property value, especially when outdoor fencing uses professional mounts.
Think about it — the difference between a DIY project that looks “good enough” and one that looks “professionally done” often comes down to details like this.
How to Choose the Right Fence Wall Mounts
If your project involves fencing, the type of mount matters. Ask yourself:
-
Is the fence decorative or structural?
-
Do I need rust-resistant finishes?
-
Will the fence be exposed to harsh weather?
-
How much weight will each mount support?
By answering these questions, you’ll narrow down whether you need Aluminum Fence Wall Mounts or another specialized option.
Why Aluminum Fence Wall Mounts Are a Smart Solution
By this stage, many homeowners start thinking about more specialized projects like fencing. That’s where Aluminum Fence Wall Mounts prove their value. Instead of relying solely on posts, these mounts allow you to attach fence panels directly to walls, making them a practical choice for properties with limited space or unique layouts.
Why go for aluminum?
-
Built to withstand outdoor elements, resisting rust and corrosion.
-
Offer a secure and stable connection for both residential and commercial fences.
-
Designed to match aluminum fencing, delivering a clean, professional finish.
In urban environments or areas where security and durability can’t be compromised, this type of wall mounts installation is often the most efficient option.

Long-Term Maintenance for Wall Mounts
Maintenance doesn’t need to be complicated. A quick check every few months can prevent long-term issues:
-
Inspect screws and anchors for looseness.d
-
Clean mounts exposed to outdoor elements.
-
Reapply protective coatings if needed.
-
Replace damaged hardware before it fails.
Simple upkeep makes all the difference in preserving both indoor and outdoor wall-mounted structures.
Final Verdict: Secure Your Walls the Right Way
At the end of the day, wall mounts installation is more than just a DIY task — it’s a way to improve safety, functionality, and style in your home. From hanging art on drywall to securing fences with heavy-duty Fence Wall Mounts, the process is achievable if you approach it with the right tools and mindset.
Both beginners and seasoned DIYers can handle it, as long as they avoid common mistakes and choose the right anchors.