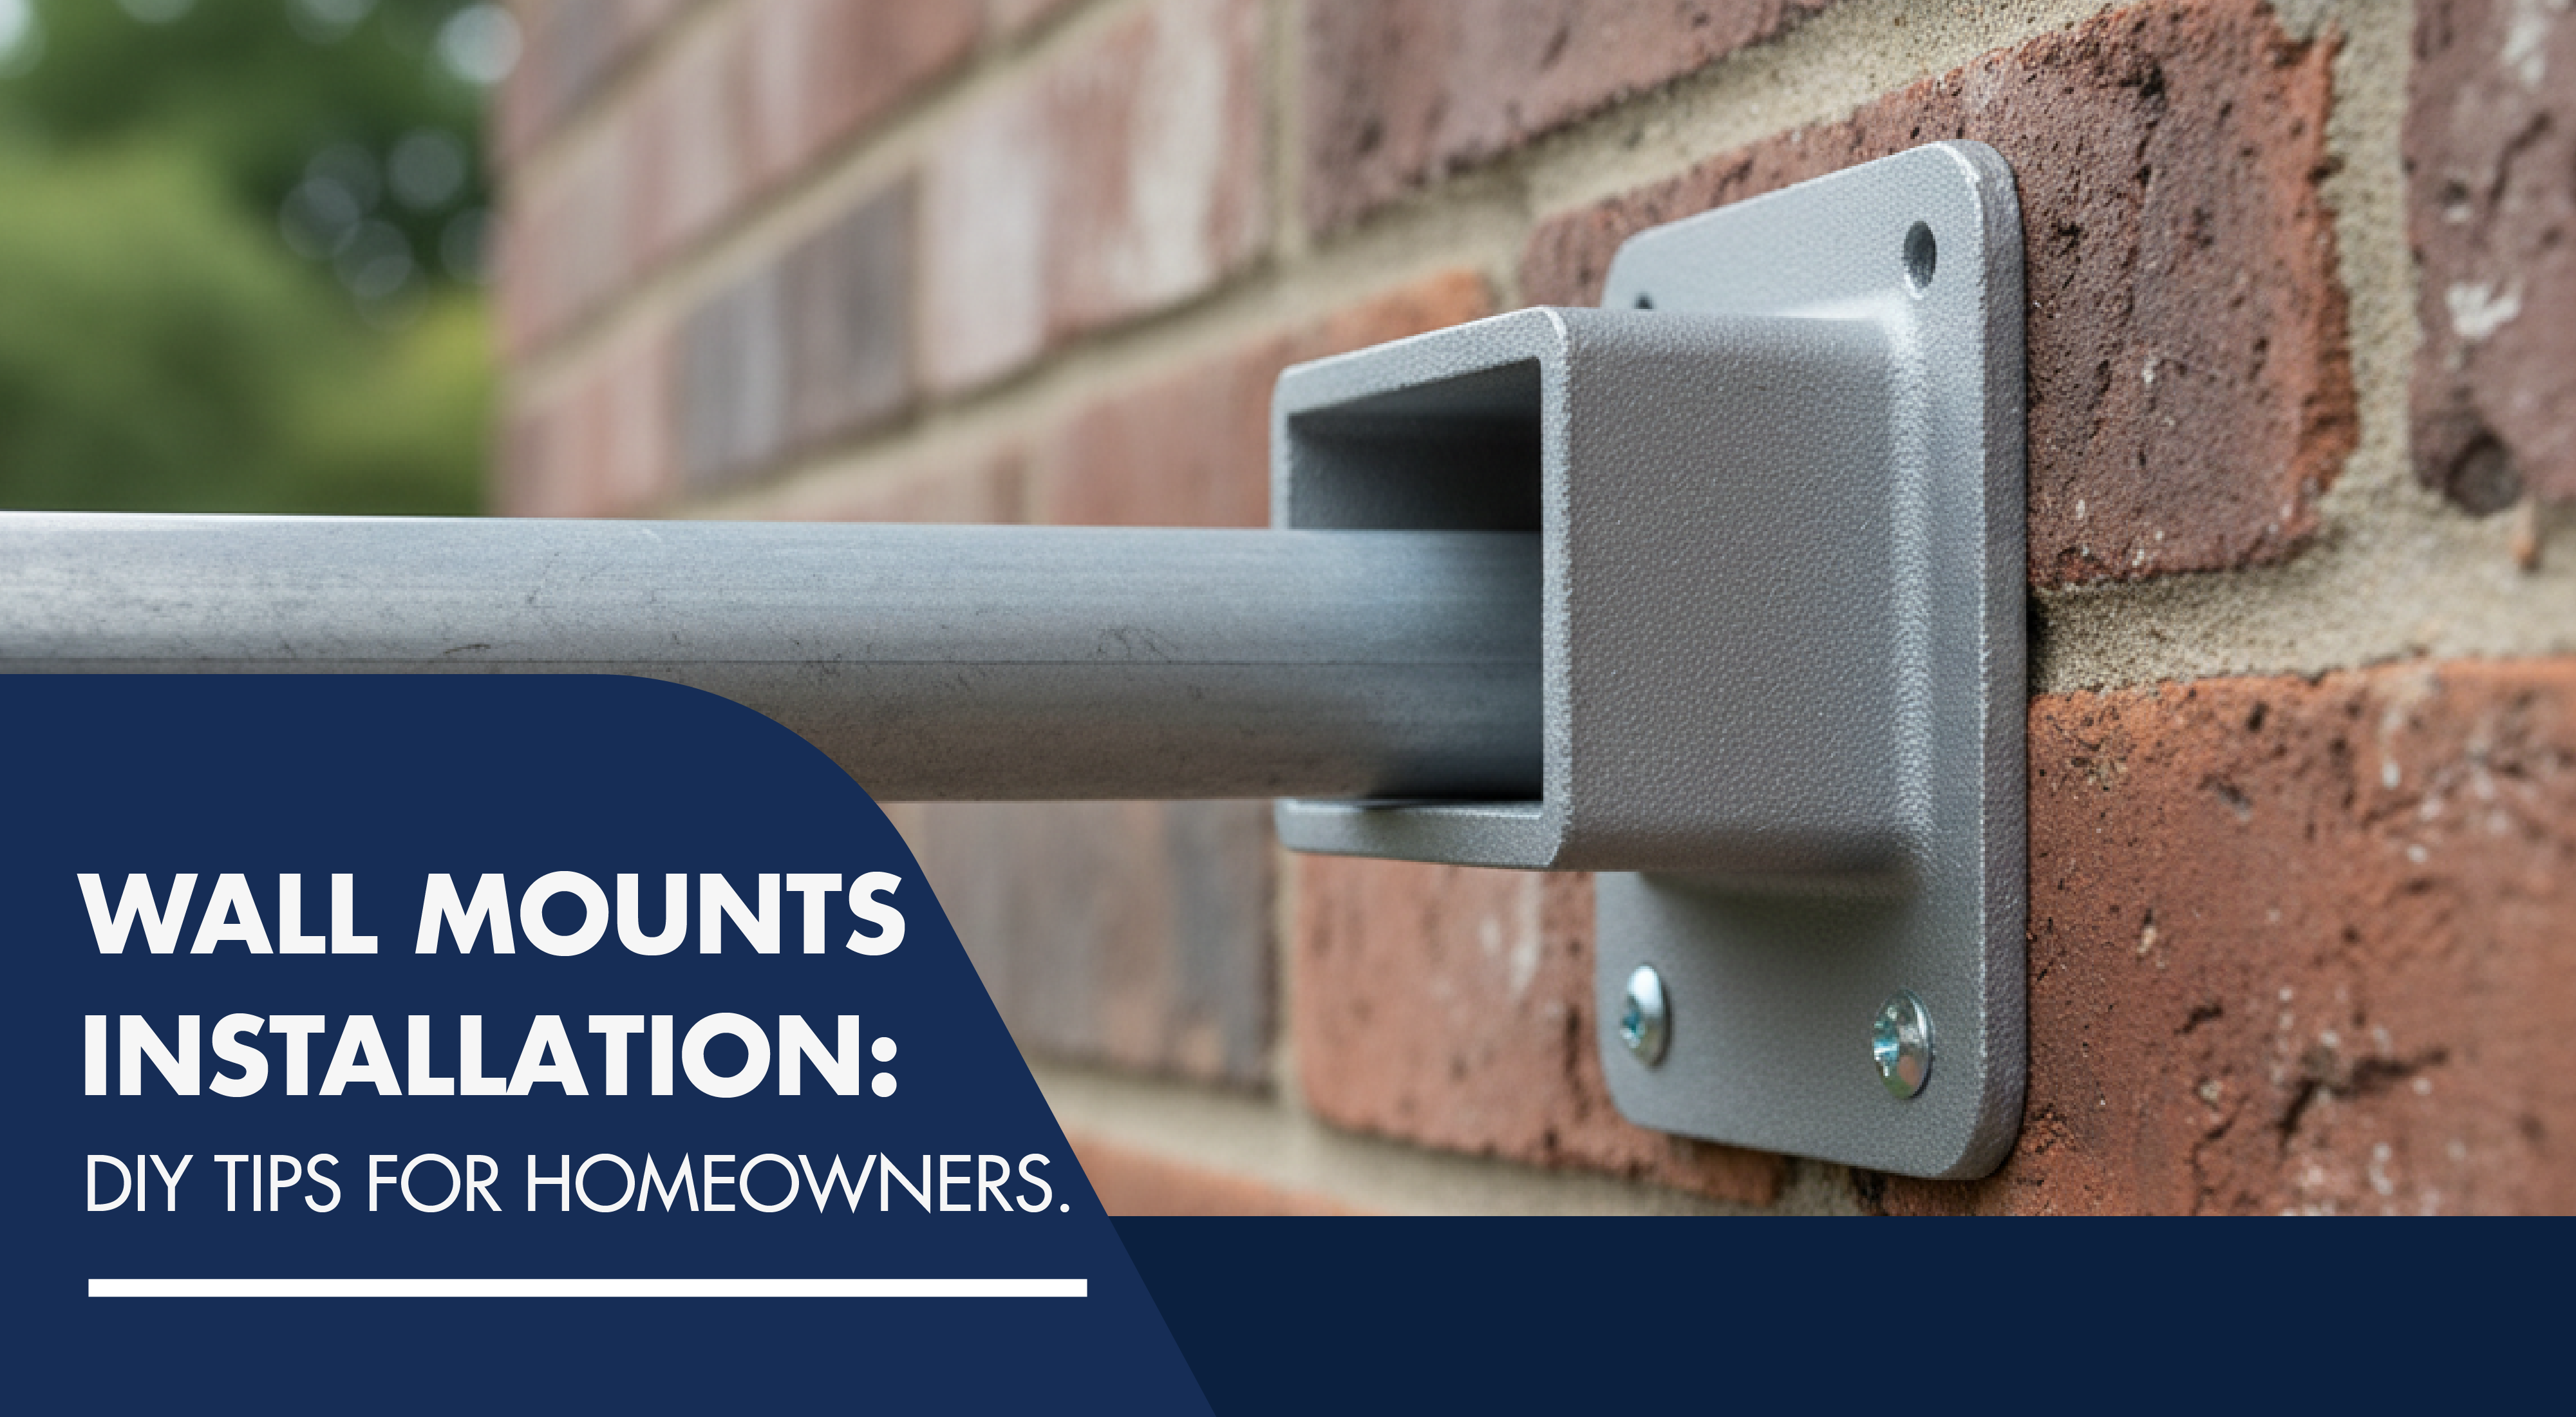
Looking to learn how to install an aluminum fence with confidence and achieve professional results? This guide walks you through everything—from choosing the right fittings to completing installation, using clear steps and expert tips. Whether you're a homeowner in the USA or a fencing professional, you’ll discover how to create a durable, long-lasting fence structure. And if you're attaching your fence to a wall, check out these top-quality aluminium wall mounts for a secure, elegant finish.
Why choose aluminum and mastering aluminium fence installation
Aluminum fencing offers numerous advantages over wood, vinyl, or wrought iron—it's lightweight, rust-resistant, low-maintenance, and long-lasting. But to get the most out of it, mastering the aluminium fence installation process is key. Installing properly not only guarantees structural stability but also showcases the sleek design of your fence.
Essential tools and materials
Before starting, gather all essentials:
Tools:
-
Tape measure
-
Level
-
Chalk or spray paint
-
Hammer drill (with masonry bit if needed)
-
Cordless drill and nut driver
-
Diamond blade grinder (for uneven surfaces)
-
Screws/anchors suitable for wood, metal, brick, or masonry
Materials:
-
Aluminum fence panels
-
Fence posts (pre-installed)
-
Wall or swivel mounts
-
Post caps, hinges, latches (if installing gates)
Step-by-step aluminium fence installation guide
Follow these carefully structured steps for smooth results:
-
Plan your layout
-
Measure and mark the fence line to determine where posts, rails, and panels will go.
-
Identify locations where panels meet walls or structures—this is where the aluminium fence installation really begins.
-
Install wall mounts on panels
-
Fix mounts on the panels first to ensure correct spacing and alignment.
-
Use manufacturer-specified holes and secure with screws.
-
Prepare wall or structure surface
-
Check for uneven surfaces—use a grinder to smooth rough or protruding brick or mortar for a tight fit.
-
Mark mounting spots
-
Position the panel with mount against the wall.
-
Level the fence top, then mark screw positions using chalk.
-
Drill anchor holes
-
Drill to the correct depth.
-
Clean out dust before inserting anchors.
-
Secure wall mounts
-
Drive screws or anchors into holes.
-
Attach the mount firmly, then slide panel rails.
-
Check alignment and tightness
-
Confirm level and plumb of rails and posts.
-
Secure all connections tightly.
-
Finishing touches
-
Add post caps, hinge hardware, and latch components.
-
Apply touch-up paint if panels have surface scratches.

Choosing the right wall mount: stationary vs swivel
When tackling an aluminium fence installation, selecting the appropriate mount is vital:
-
Stationary mounts – ideal when wall and fence align straight.
-
Swivel mounts – use when you have angled intersections or uneven surfaces. They allow a 90° turn, ensuring clean alignment. Fittings Plus offers both types to match diameter and finish exactly, like bronze, white, or black
You can also read: How to Install a fence
Additional considerations for a flawless installation
-
Check local codes – Call utility services before drilling; verify property lines.
-
Use corrosion-resistant fasteners – Match stainless or coated screws with aluminum components.
-
Match finishes – Choose mounts, rails, and caps in consistent bronze, black, white or bare aluminum for a polished aesthetic.
-
Level frequently – Constantly check with your level to maintain clean lines throughout the process.
Maintenance tips after installation
-
Rinse fence occasionally to remove debris.
-
Tighten mounts periodically.
-
Touch up scratches promptly to prevent oxidation.
Common mistakes to avoid during aluminium fence installation
Even with a well-structured guide, errors can happen. Here are the most common mistakes people make when learning how to install an aluminum fence, and how to avoid them:
-
Not measuring properly: inaccurate measurements lead to misaligned panels and wasted materials. Double-check distances and always plan for gate widths.
-
Skipping the level: uneven fencing ruins both the appearance and functionality. A small tilt can escalate into major misalignment over longer distances. Use a level constantly.
-
Using the wrong mounts: not all wall mounts are created equal. Make sure you're selecting swivel or stationary aluminium wall mounts based on your specific fence angle and surface type.
-
Overtightening screws: aluminum can dent or crack under too much pressure. Fasten mounts firmly, but avoid stripping screws or deforming your mounts.
-
Ignoring expansion gaps: aluminum expands and contracts slightly with temperature. Leave a minimal gap at panel ends to accommodate this and prevent warping.
Avoiding these issues helps guarantee a smoother, more durable aluminium fence installation—and fewer repairs or adjustments down the line.
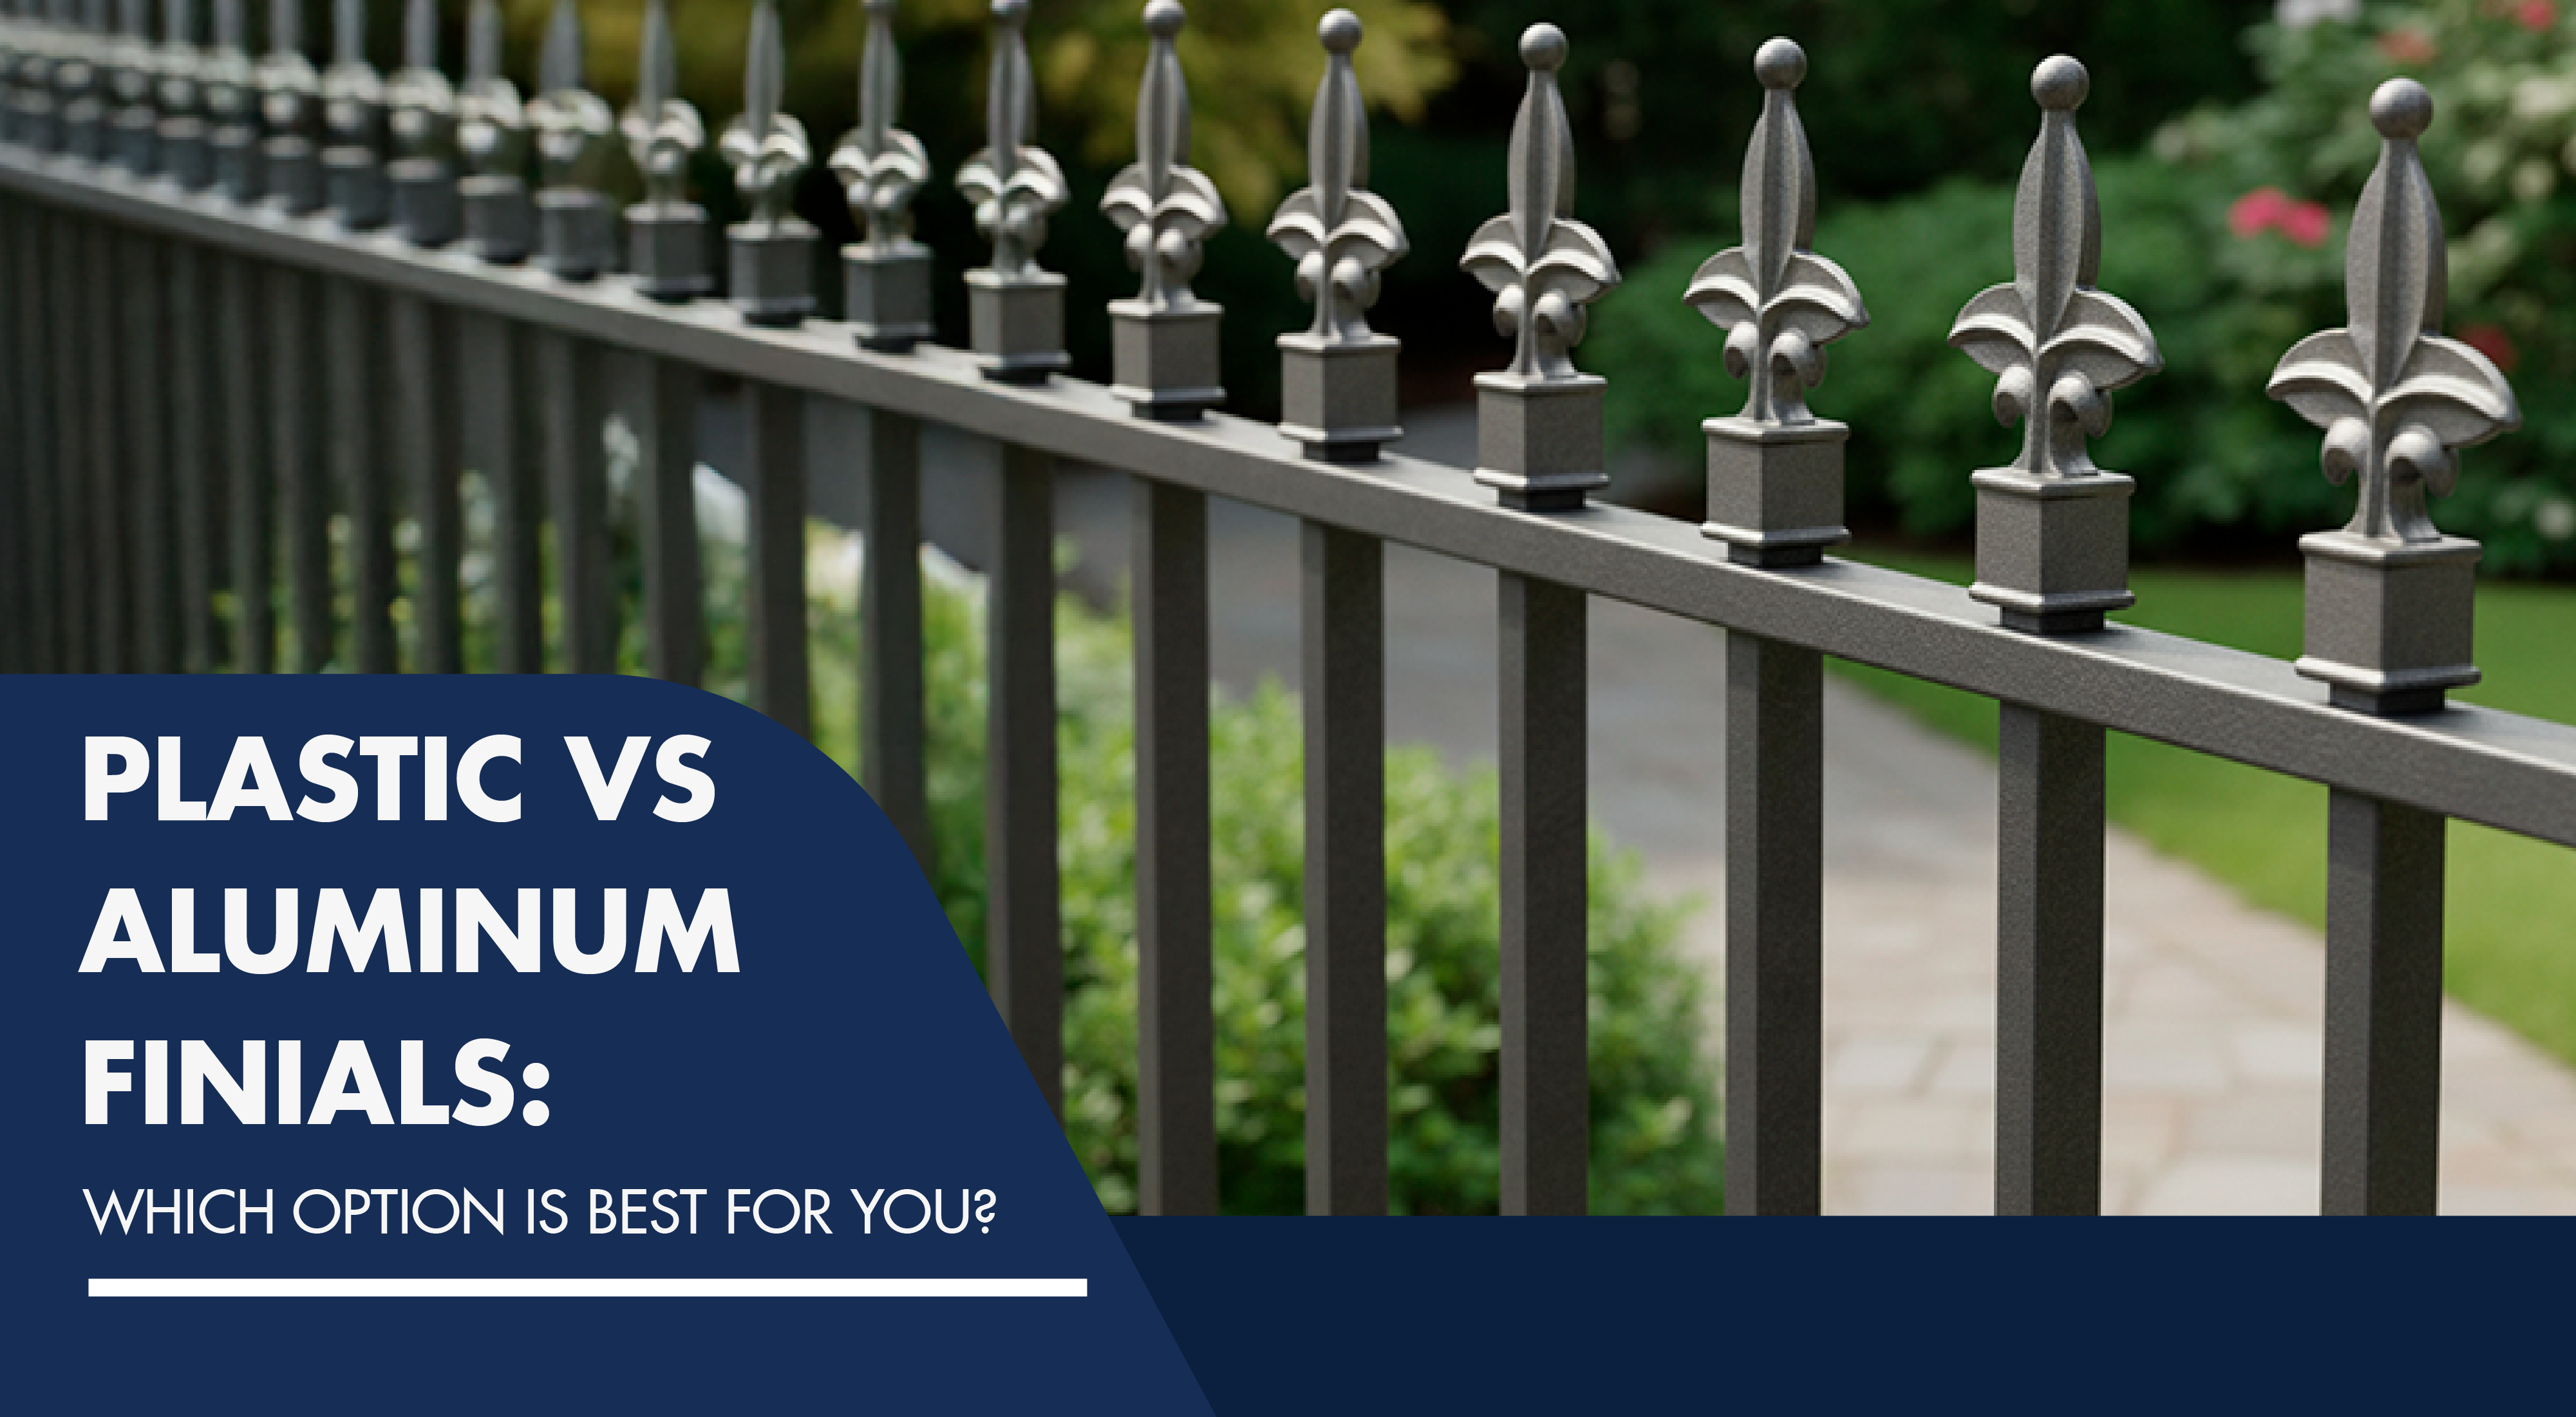
Aluminum fence vs. other materials: why it stands out
When comparing aluminum to wood, PVC, or iron fencing, aluminum consistently ranks highest in:
-
Durability – It resists rust and corrosion, even in coastal or humid environments.
-
Maintenance – No need for sanding, staining, or sealing every few years.
-
Weight – Lightweight panels and mounts are easier to handle and install.
-
Cost over time – While the initial investment might be slightly higher than vinyl, its long lifespan and low upkeep make it more cost-effective long-term.
If your goal is a modern, secure, and visually clean installation, aluminum checks all the boxes. And when paired with precision-engineered components like those from Fittings Plus, the results are unmatched.
What makes Fittings Plus the right choice?
At Fittings Plus, quality isn't optional—it's standard. The brand stands out in the U.S. market by offering:
-
Industry-specific aluminum components – Designed with installers in mind, with easy-to-follow specs and clean finishes.
-
Consistent inventory availability – No long wait times or out-of-stock frustrations.
-
Coated finishes – Bronze, white, and black options built to withstand weather and UV exposure.
-
All-in-one solutions – From mounts to caps and hardware, you’ll find everything needed for a seamless aluminium fence installation.
Whether you're doing a small residential setup or a large commercial perimeter, Fittings Plus ensures your project has the professional polish it deserves.

When to hire a professional installer
If you have basic DIY experience, following this guide can help you achieve a successful installation. But certain cases may require calling in an expert:
-
Sloped or uneven landscapes
-
Commercial installations with code requirements
-
Large-scale fencing jobs
-
Projects involving retaining walls or stone surfaces
A professional will not only expedite the process but ensure full compliance with local regulations and structural integrity. Still, many homeowners in the USA are fully capable of learning how to install an aluminum fence with the right preparation.
Secure, stylish, and straightforward installation
Mastering how to install an aluminum fence doesn’t have to be complex. With proper planning, top-grade materials, and expert fittings, you can achieve professional-level results that elevate curb appeal and security.
Start your project today. Explore Fittings Plus’s full range of aluminium fence installation products—post caps, mounts, hinges, latches—with fast shipping across the USA. Secure your space, enhance your landscape, and enjoy years of durable elegance. Order now and build with confidence!