Putting up a fence around your property may quickly make it seem better, give you peace of mind about the safety of your house, and separate your land from that of your neighbors.
When it comes to constructing a safe fence, there are a lot of different elements that need to be used. Some examples of these materials are fence panels, posts, and gravel boards. However, post caps are material that might be omitted from the list entirely.
Many people are under the impression that the only use of post caps is for decoration; however, in this blog article, we will discuss the true function of the post cap as well as the advantages it offers. In addition to that, we will go over the steps necessary to install fence post caps.

Exactly what does the term "Post Cap" refer to?
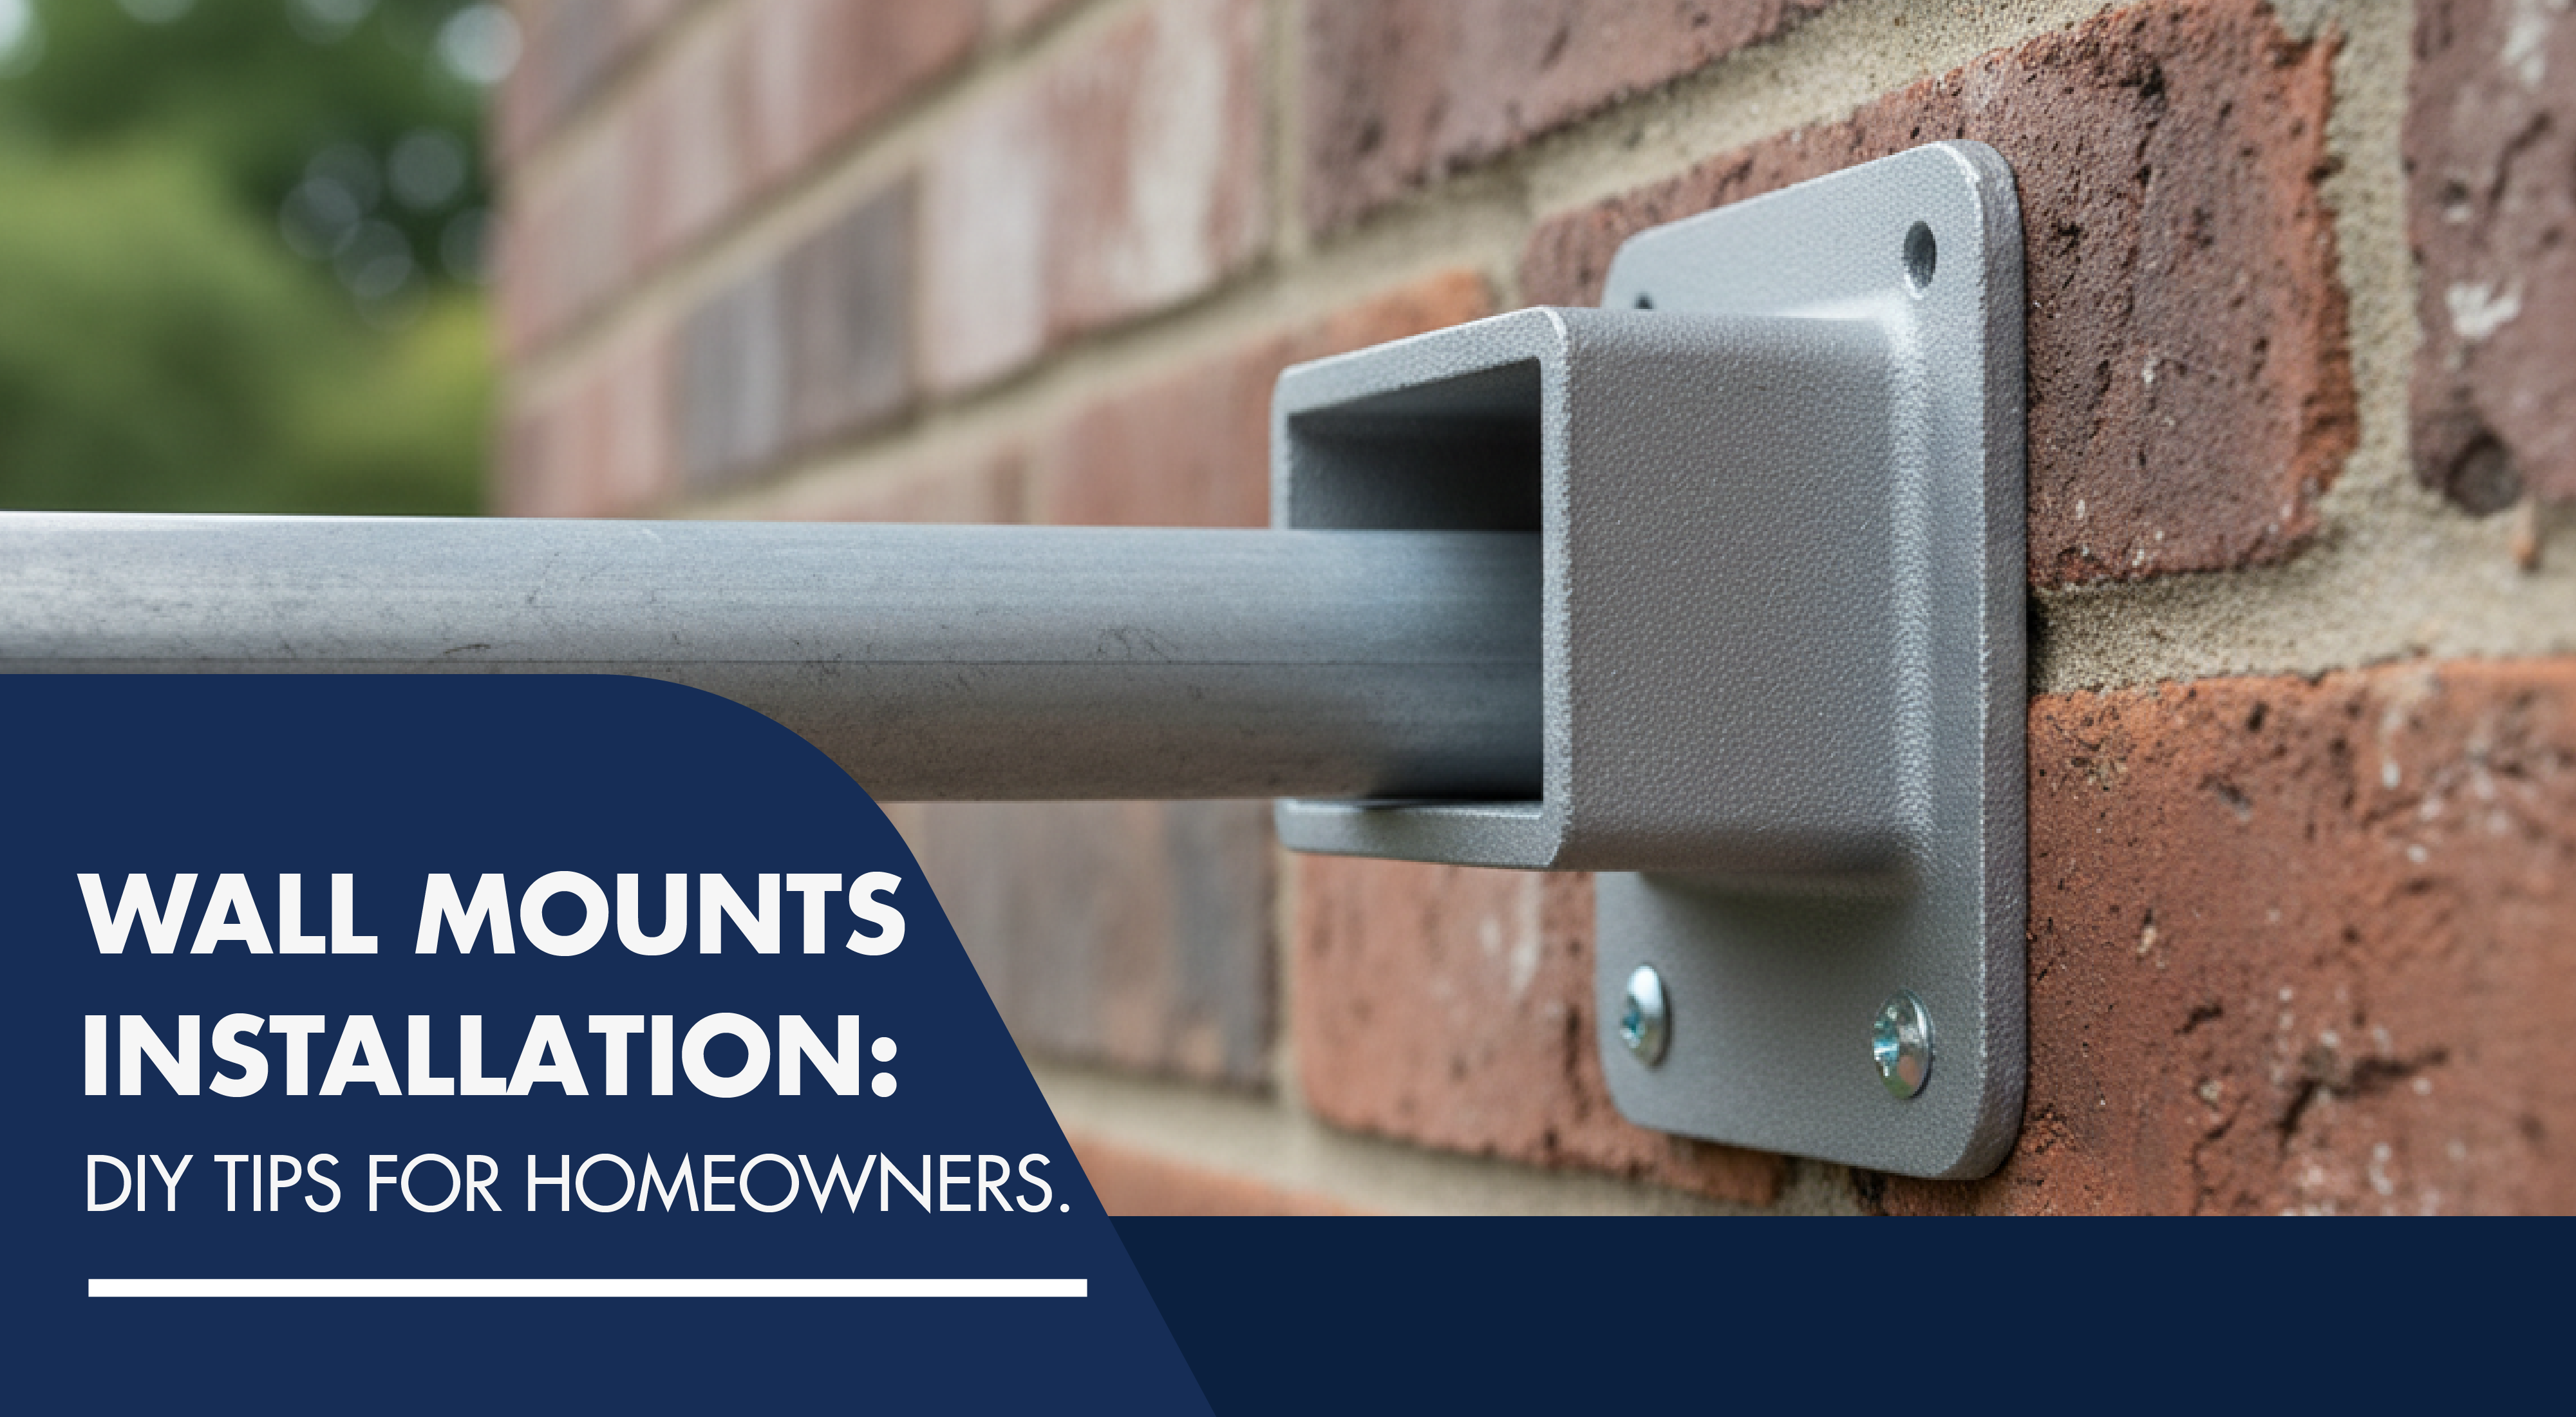
A fence post cap is a simple protective covering that snaps onto the tops of your fence posts to keep them dry and undamaged. In addition to their functional use, these caps serve as attractive additions to any garden because they are available in a wide range of sizes, shapes, and colors.
When you shop with us at fittingsplus, you can choose from a variety of pressure-treated fence post caps, finials, and finial bases to put a finishing touch on the top of your post and slow its deterioration.
The correct fence post caps will complete the look of your yard and fencing, therefore it's crucial to learn about them. Use a tape measure to double-check the size of your fence posts before installing them. You must ensure that the post caps you select will snugly fit on the posts without being too loose.

Valuable Function of Fence Post Caps
To last for decades, treated wood fences are built to last. However, the fence itself, and especially the fence posts, may degrade with time due to weather and other external effects.
When wooden posts are left outside in the rain, the end grain rots first. All of the moisture will condense at the tops of the posts rather than throughout the structure, encouraging the growth of mildew and mold and eventually causing the posts to rot.
In addition, the sun and wind can dry up the wood on top of your fence posts, leading to cracking, if you don't install a post cap. Since fence post caps protect the post from weather damage, using them can prevent many issues that arise when fence posts are left exposed.
Fencing may last longer and be more secure if post caps are installed at regular intervals. After capping a fence post, you may touch it without worrying about getting splinters since the cap conceals any sharp edges.

The posts you set up will be safer from animals if you cover them with post caps. Birds and squirrels, for example, frequently perch on fence posts. If you choose a cap for your seat post that is sharply pointed, however, these creatures will be unable to use it as a perch.
Because of this, you won't have to deal with the unpleasant task of removing the filth that these animals leave behind from the fences. As a result, it is acceptable to infer that post caps are not only a great cosmetic addition to your fencing or a waste of money.
Instead, they serve as an essential shield against animals and, more importantly, the elements for your fence posts. With post caps, your fence will be protected from the elements and your yard will seem more put together.
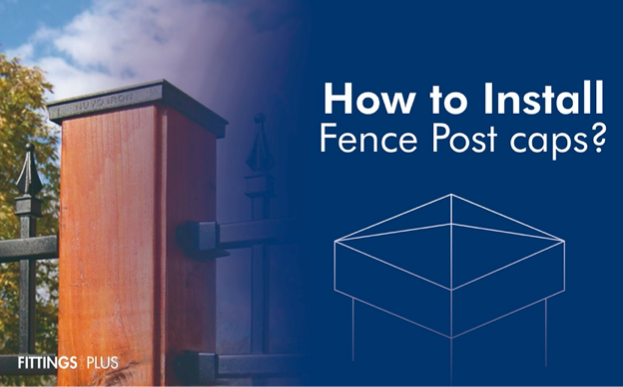
How to Install and Maintain the Fence Post Caps
Installation
- Standard Fence Post Caps
We strongly advise making use of exterior-grade construction glue for attaching ornamental post caps to posts in order to successfully complete the installation process.
After thoroughly coating the interior of the cap with the glue and securing it in position over the top of the post, the cap can be removed.
Do not use glue when installing solar or low-voltage post caps. Since most of these caps require removal so that batteries may be changed when necessary, the adhesive should not be used. Instead, attach these caps using detachable screws.

- Solar-Powered Fence Posts Caps:
Take note that the construction of different solar lamps might vary greatly. Access will be required for everybody in the event that batteries ever need to be replaced.
While others can only be reached from the very top, some can be reached from the very lowest. Screws should be used to secure the caps that need to be removed, but adhesive can be used to secure the caps that can be accessible from the top.
For further information, please refer to the instructions that were included with each of your caps
Turn on the solar post cap light by doing the following:
- To access the battery compartment, remove the metal top or take the cap off the post.
- Battery terminal connection is possible when the plastic tab is removed from the battery compartment.
- To charge the battery completely, turn the power switch to the OFF position. In order to properly charge, your solar post cap light will need to be exposed to sunshine for at least 24 hours, preferably 48.
- If the top has been taken off, put it back on.
- If you want to fully charge your solar post cap light, leave it out in the sun for 24 to 48 hours with the switch turned off. As soon as the solar post cap has finished charging, flip the switch to the "ON" position.

You may now attach the solar-powered post cap light to your post. If you want to secure the light to the post, you may use external construction adhesive to glue the inside edge of the molding at the base of the fixture to the post. If the cap you're using has a bottom opening, you may just screw it onto the post.
When the batteries are charged to capacity, you can leave the power on permanently. During the day, the solar collector will charge the batteries so that they can run the light at night. Your solar post cap light will stay on for around 6 to 8 hours at night, and then switch off during the day so that the solar collector can recharge the batteries.
In the event that your solar post cap light begins to fade or stop lighting entirely, just flip the switch to the OFF position for 48 hours to enable the solar collector to fully recharge the batteries.

Maintenance
Caps for Wooden Fence Posts
We propose that you cover the wood component of the post cap with an external finish of high quality to protect the inherent beauty of the wood and guarantee that it can be enjoyed for a lifetime. This is something that you should do with all wood items.
Before installation, make sure you apply it to all of the wood surfaces, including the bottom of the cap.

Caps Made of Various Other Materials for Fence Posts
The copper, stainless steel, and brass post caps that we sell all come with a protective coating that is transparent and very thin, and its purpose is to shield the material before and while it is being installed.
As soon as they are put in the open air, the coating will start to deteriorate, and the underlying metal will become visible as a result of the sun's UV radiation, moisture, and air pollution.
Copper is susceptible to air and oxidizes (discolors) more quickly in humid air than in dry air. Copper will oxidize with time despite the best efforts of every permanent protective solution ever devised. Our copper post caps get a temporary thin coating of lacquer as well as polyurethane that helps to minimize staining during handling and installation. However, the coating will eventually degrade due to the effects of moisture, ultraviolet rays, and other environmental conditions, as well as normal weatherization.

Copper's surface undergoes a progressive transformation in color as a result of the natural weathering process, which is caused by the acidic assault of airborne sulfur compounds. The final hue might be different each time because of factors such as location and environment.
The final hue can be affected by factors like salt, moisture, sunshine, and even direction. Copper, in general, changes from its native salmon hue to a sequence of russet browns, and grays, and then eventually to a blue-green or gray-green patina. This is the natural patination process. The color of the caps will change over time as a result of weathering, but these changes will gradually become more uniform.
Post Caps in Various Colors
Our post caps are available in a wide range of hues, including black, white, green, pewter, and true patina respectively.
These colors have a powder coating that has been baked on to create a finish. This finish is exceptionally strong and long-lasting, and it requires very little to no maintenance.